
Creating a static blog with Sapper and GraphCMS
After seeing all the hype behind static websites recently, I decided to give it a go by redesigning my personal website..
Static websites have a few benefits over single-page and server-side rendered applications such as
- No back-end to manage, just throw your files on a CDN and call it a day
- Reduced hosting costs (many sites can be hosted for free on platforms such as GitHub Pages or Zeit Now
- Fewer (to none) round trips for API data, therefore fewer loading indicators leading to a better user experience
There are also some drawbacks though that lead to static sites not being optimal for every situation. One example of a drawback would be if you have a data-set that is constantly changing as static sites request this data on "build/deploy" time to create the static assets. For my personal website, it doesn't change that often, so static is a good choice.
The goal
We will end this post with an understanding of how to use GraphCMS (or another 3rd party CMS) as a backing service to populate a static website with content.
To accomplish this, we will be using Sapper as our front-end framework to keep things TINY.
TLDR
The source for this tutorial is available at: https://github.com/jacob-ebey/sapper-graphcms-blog-example
Development
> npm install
> npm run dev
Production
> npm run export
> npm install -g serve
> serve -d __sapper__/export
The data source
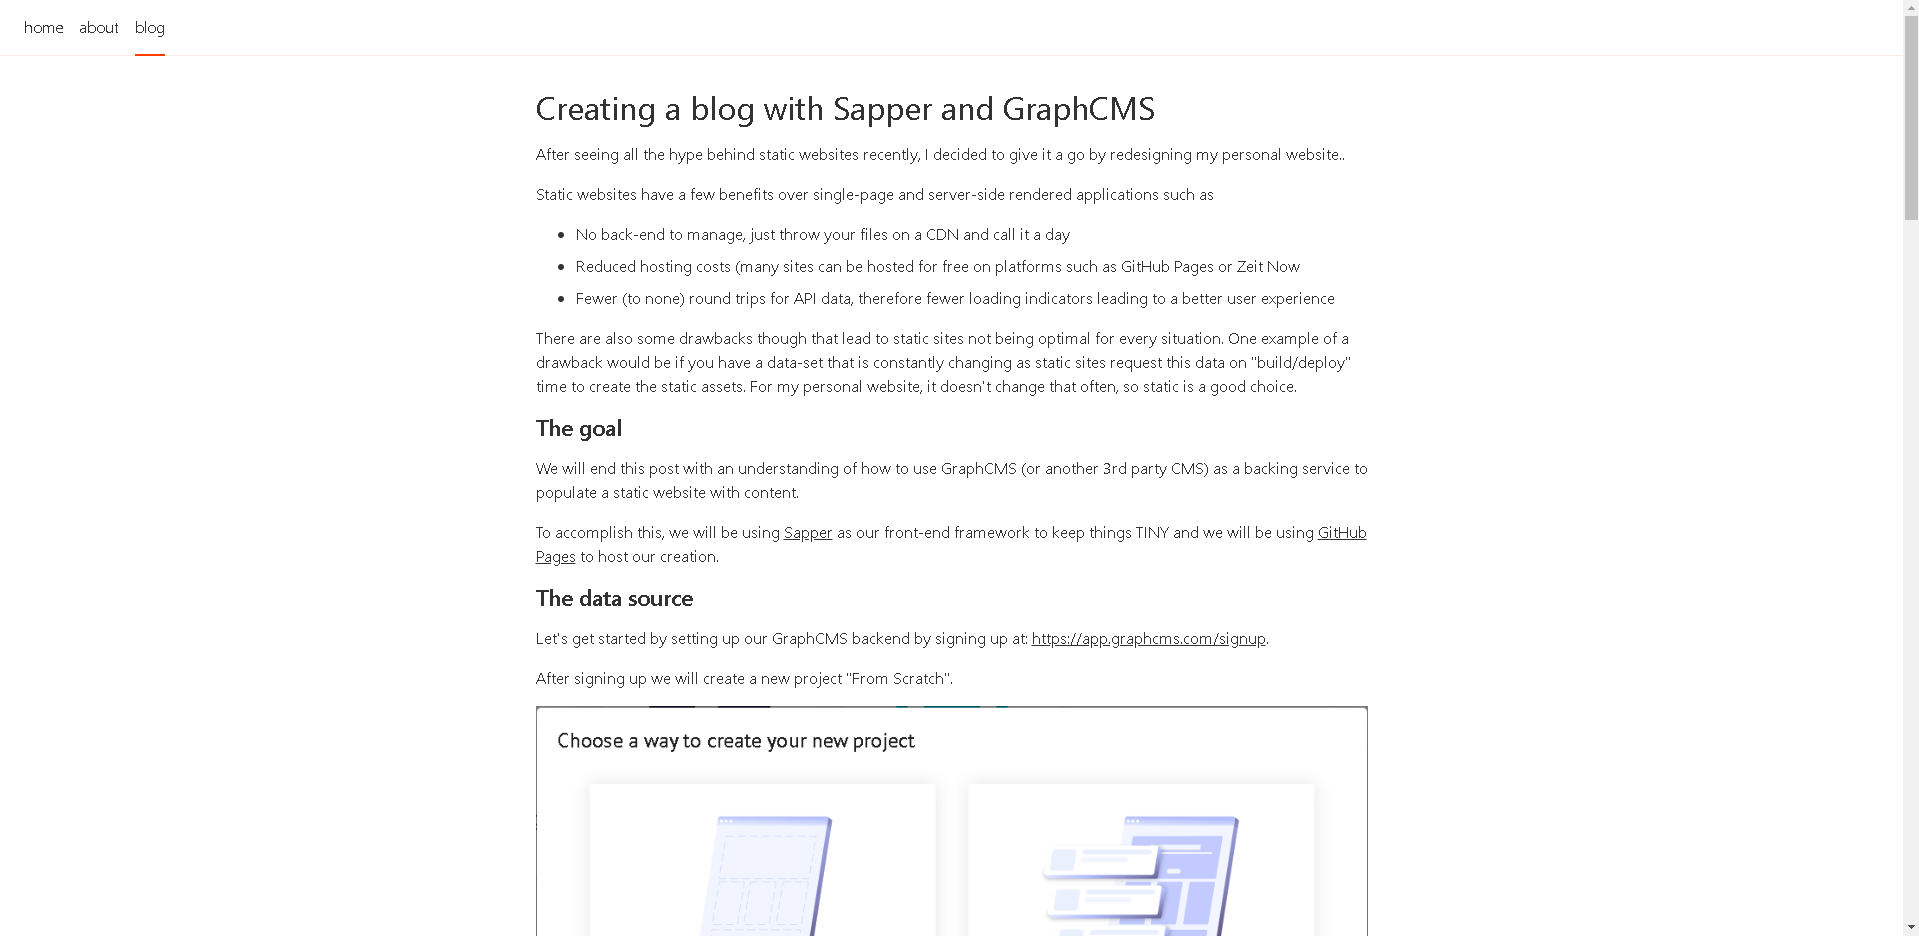
Let's get started by setting up our GraphCMS backend by signing up at: https://app.graphcms.com/signup.
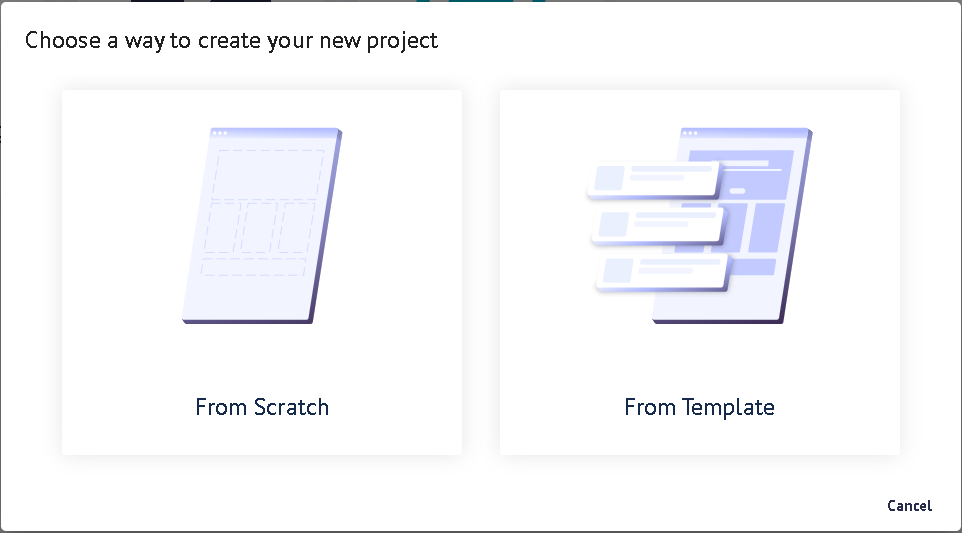
After signing up we will create a new project "From Scratch".
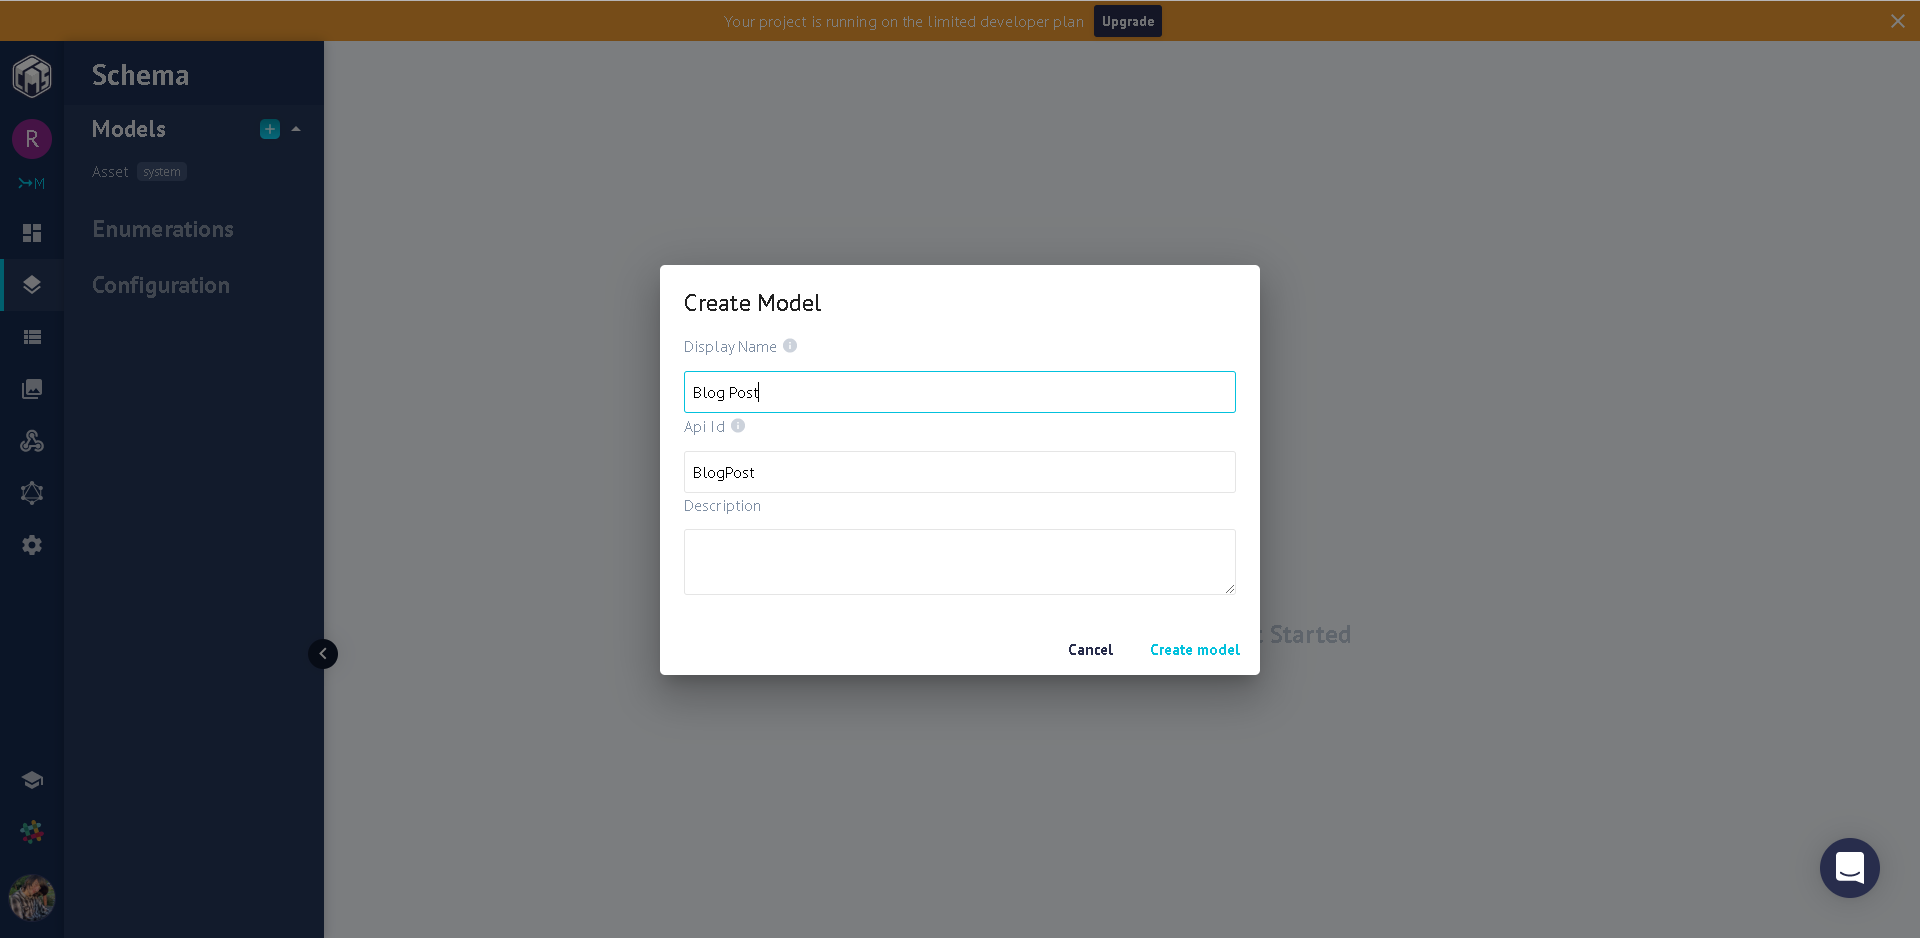
Navigate to the "Schema" tab. Once there we will create a new model called "Blog Post".
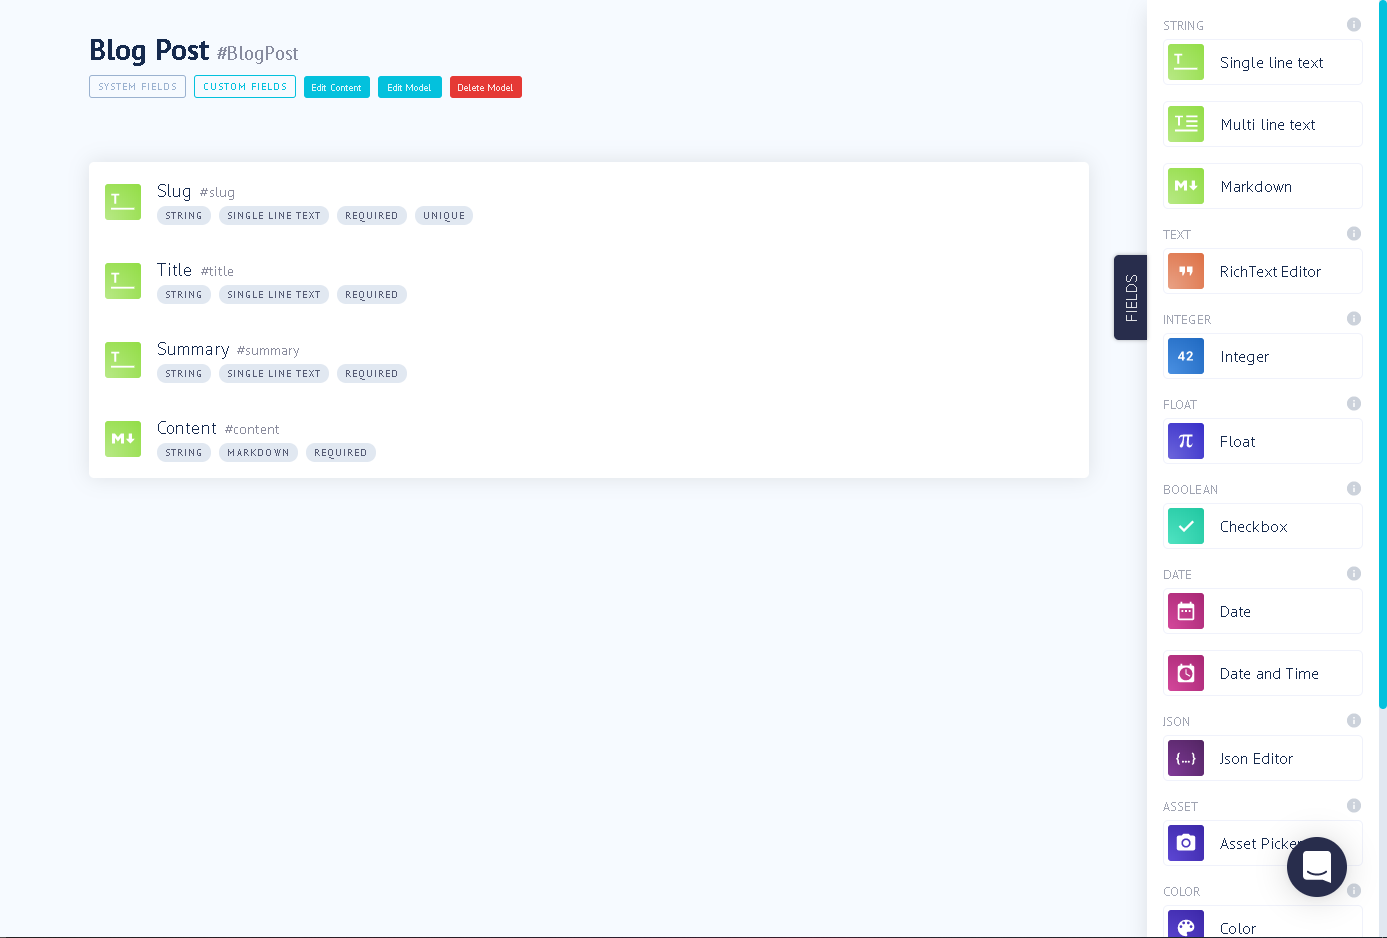
Our model will need the following fields added to it from the drawer on the right of the dashboard:
- Slug
Single line textMake field requiredMake field unique
- Title
Single line textMake field required
- Summary
Single line textMake field required
- Content
MarkdownMake field required
In the end, you should have a model that resembles:
Create a new post
Now that we have our "Blog Post" model defined, we can head on over to the "Content" tab and get started writing pretty blog posts in Markdown.
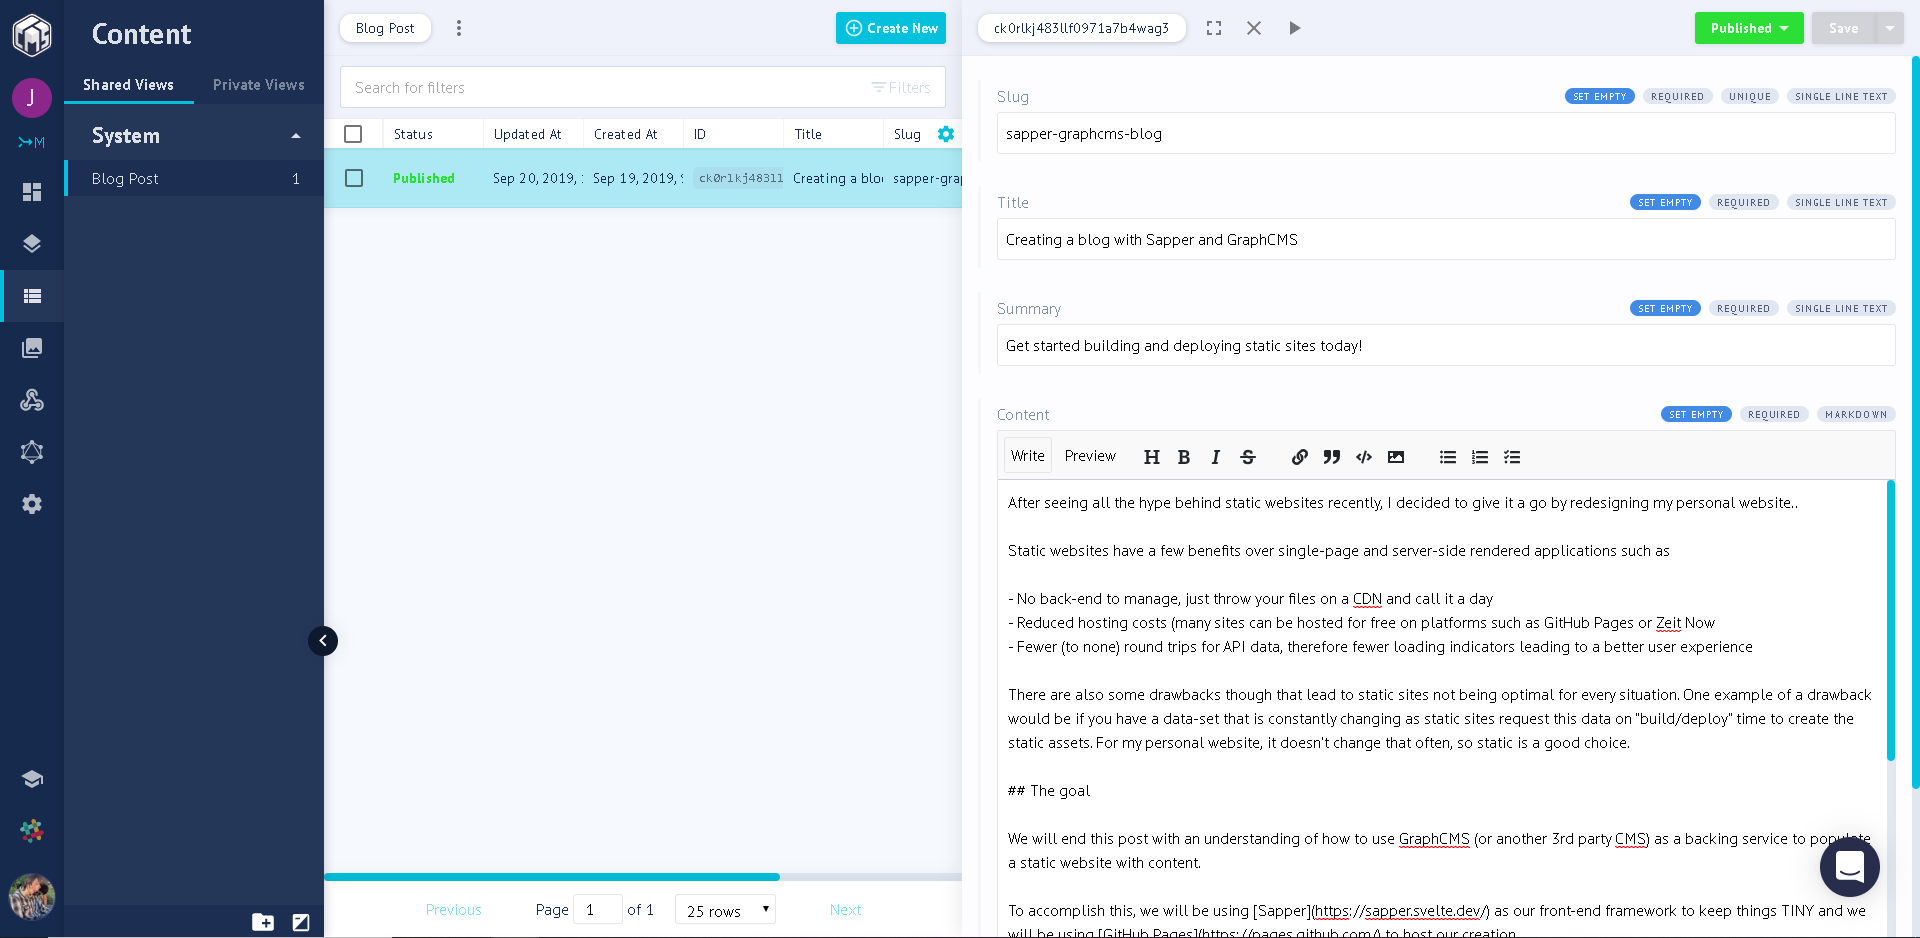
GraphCMS gives us a few nice features out of the box such as an "Asset" tab where we can upload images and reference them from the markdown editors "insert image" button in the toolbar. This blog post, and all it's images are hosted on GraphCMS.
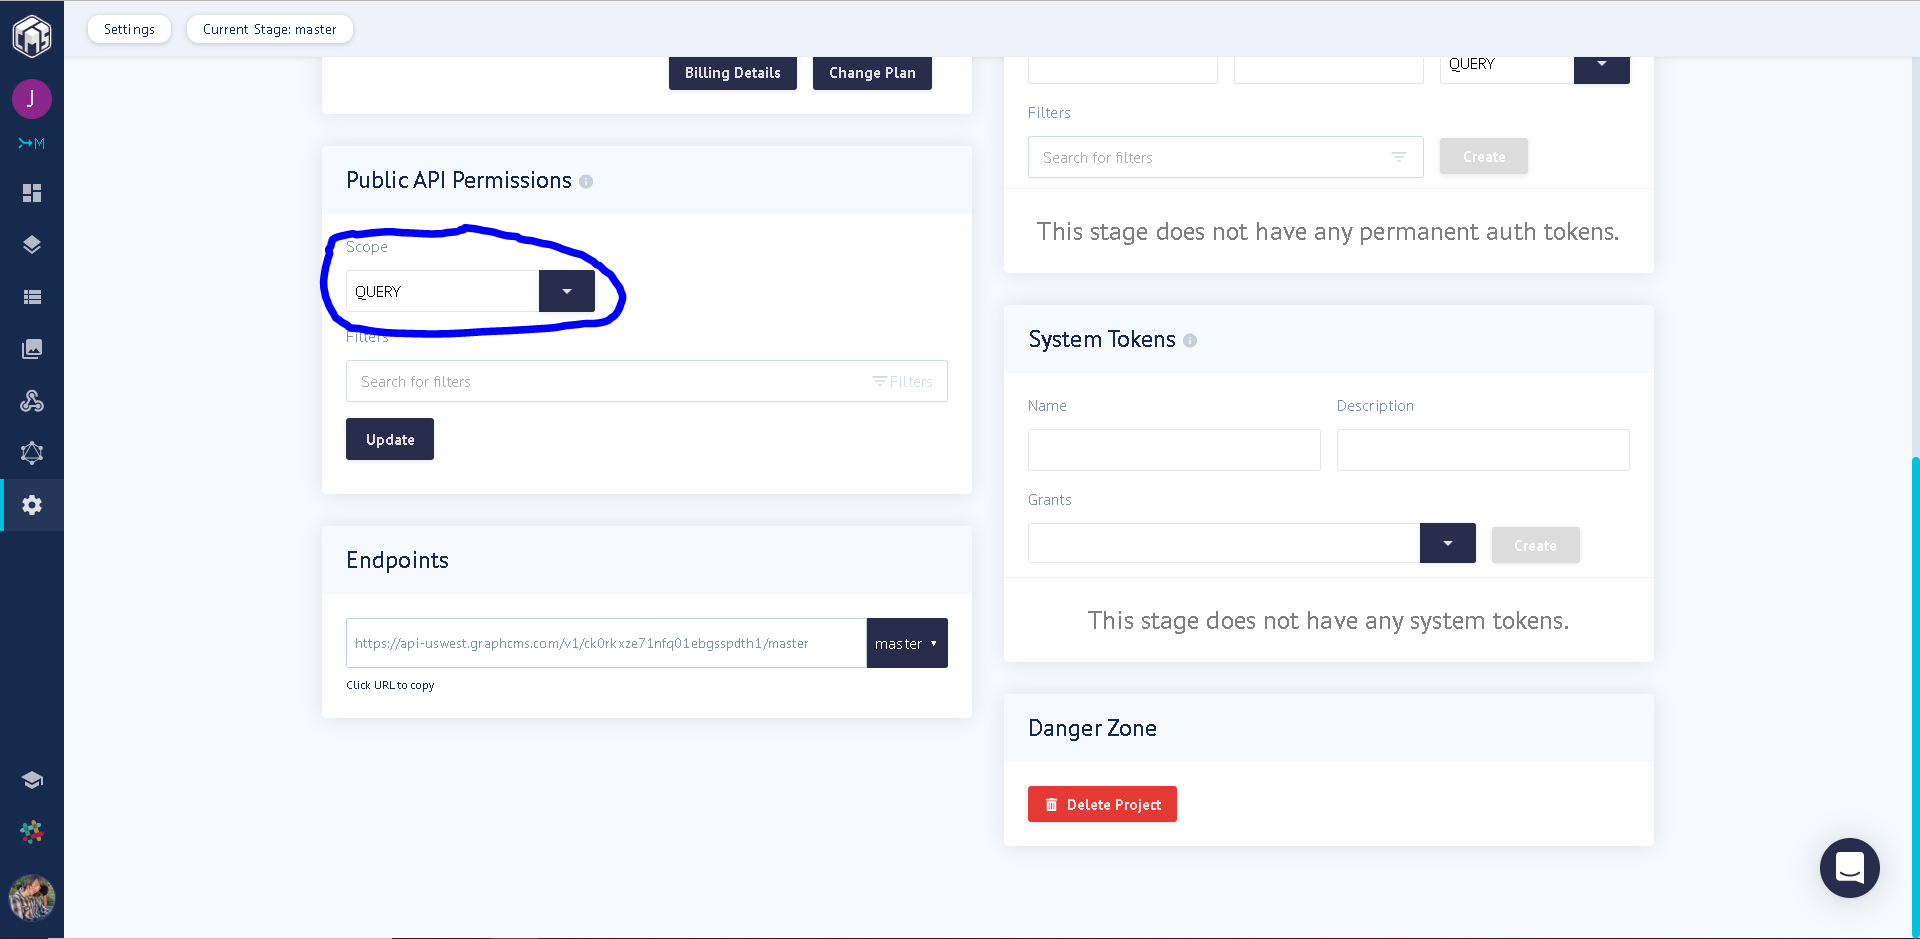
Enable access
The last thing we have to do is expose the data publicly by going to the "Settings" tab and changing the "Public API Permissions" > "Scope" to "Query".
The static magic
For this tutorial, we will be using Sapper to generate our static website. I'm a fan of Svelte, and by extension Sapper due to it's tiny footprint (really none because it compiles to vanilla javascript), it's scoped styling support for both css and scss/less in the form of easy to integrate Webpack or Rollup plugins, and great run-time performance on low end mobile devices.
There are many other viable static site frameworks out there, such as Gatsby (very pleasant to use once you learn the eco-system) or Next.js (not it's main use-case).
Getting started
Let's get started with one of my favorite frameworks to work in at the moment though, Sapper.
Start by initializing a new Svelte project using npx and degit:
> npx degit "sveltejs/sapper-template#rollup" my-app
> cd my-app
> npm install
OR
> npx degit "sveltejs/sapper-template#webpack" my-app
> cd my-app
> npm install
Once the dependencies are installed, you should be able to start the website locally in dev mode with hot-reloading with
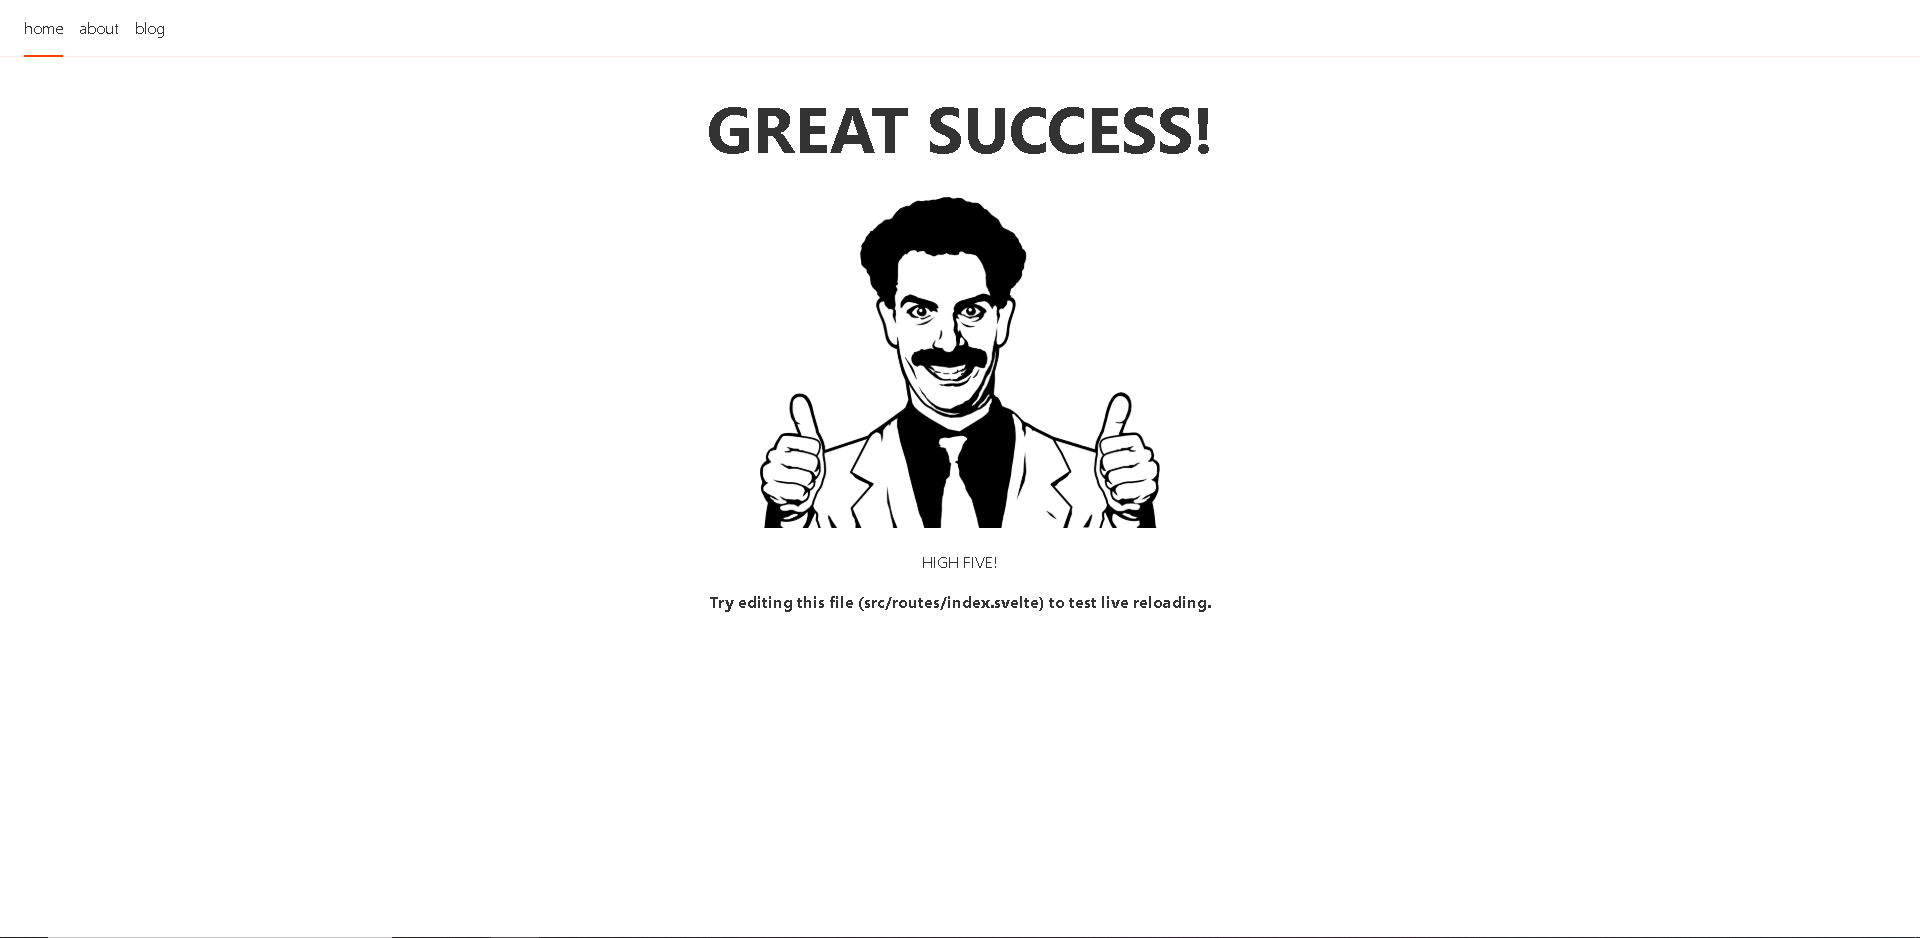
> npm run devOnce you see the beautiful Sapper homepage, we are ready to rock!
Fetching the data
Sapper has a handy builit in fetch implementation that works on both the "server" and the "client". This is something I should explain real quick...
Sapper is a framework not just for building static websites, but also building server side rendered applications. This is GREAT for a few reasons in the context of a blog.
At the moment, I'm not planning on blogging a lot, so kicking off a new deployment when I finally decide a post should be public is not that big of a deal to me. But in the future if I decide to let others post on my platform, or I'm writing a lot and decide I don't want to do a deployment everytime, I can simply deploy the exact same codebase on a platform such as Heroku in SSR mode, and now we are fetching the new posts whenever a user visits the site.
For now, we will be using the "export" functionality that exports the compiled website and preloads as if it was running is SSR mode.
Using preload and fetch
Inside src/routes/blog/index.svelte on line 1 you will find the code:
<script context="module">
  export function preload({ params, query }) {
    return this.fetch(`blog.json`)
      .then(r => r.json())
      .then(posts => {
        return { posts };
      });
  }
</script>
This is calling a local api route defined in src/routes/blog/index.json.js, we are going to replace this to call our GraphCMS API instead we created in the above section.
To do this we will just update fetch to be a "POST" call to our url. You can see where you can find your url in the screenshot under the "Enable access" section above.
By using the magic of GraphQL, we can just go ahead and remap our "blogPosts" property to "posts" and return the data result of the query from our preload function. This will match the Sapper boilerplate so we don't have to make any style changes to get up and rolling.
<script context="module">
  export async function preload(page, session) {
    const res = await this.fetch(
      "<YOUR_GRAPHCMS_URL>",
      {
        method: "post",
        headers: { "Content-Type": "application/json" },
        body: JSON.stringify({
          query: `{
          posts: blogPosts(where: {
            status: PUBLISHED
          }) {
            slug
            title
            summary
          }
        }`
        })
      }
    );
    const json = await res.json();

    if (res.status === 200) {
      return json.data;
    } else {
      this.error(res.status, json && json.errors);
    }
  }
</script>
After the above update, we should have the first post we created earlier show up like so:

Onto the post page!
Opening up src/routes/blog/[slug].svelte we will see a similar preload function at the top that looks something like:
<script context="module">
    export async function preload({ params, query }) {
        // the `slug` parameter is available because
        // this file is called [slug].svelte
        const res = await this.fetch(`blog/${params.slug}.json`);
        const data = await res.json();

        if (res.status === 200) {
            return { post: data };
        } else {
            this.error(res.status, data.message);
        }
    }
</script>
We are going to go ahead and update this very similarly to the posts list page once again using the GraphQL magic to remap the properties to match the existing route properties.
<script context="module">
  export async function preload({ params, query }) {
    // the `slug` parameter is available because
    // this file is called [slug].svelte
    const res = await this.fetch(
      "<YOUR_GRAPHCMS_URL>",
      {
        method: "post",
        headers: { "Content-Type": "application/json" },
        body: JSON.stringify({
          query: `query Post($slug: String) {
            post: blogPost(where: {
              slug: $slug
            }) {
              slug
              createdAt
              title
              content
            }
          }`,
          variables: {
            slug: params.slug
          }
        })
      }
    );
    const json = await res.json();

    if (res.status === 200) {
      return json.data;
    } else {
      this.error(res.status, json && json.errors);
    }
  }
</script>
We do have to make one change to the UX due to the fact we are using Markdown in our GraphCMS model instead of storing raw HTML. I like using the marked package due to it's small bundle size and ease of use.
Install marked with
> npm install -s markedImport marked in the script tag not marked "module":
<script>
  import marked from "marked";

  export let post;
</script>
The boilerplate renders the post's content from an html property like so:
<div class="content">
  {@html post.html}
</div>
Our markdown in coming from a property called "content", so we just need to run that through the marked library and we are good to go:
<div class="content">
  {@html marked(post.content)}
</div>
One thing we will want to do is constrain the images rendered by the markedown content. Since the content is "external" to the component definition, svelte requires us to use the ":global" selector when styling the dynamic html like so:
.content :global(img) {
  max-width: 100%;
}
And with that we should have a nice looking blog post!
From development SSR to static production
Every time we've hit the development url we spun up, we have been also server side rendering the page and fetching the data from GraphCMS. This is great for a development experience as we never have outdated data, but that is not the goal for this tutorial.
Lucky for us, exporting a static Sapper site is SUPER easy, like so easy it's a default npm script in the package.json of the boilerplate we've been working out of!
All you have to do is run:
> npm run exportAt the end of the build, you will see some info such as:
Crawling http://localhost:3000/
   1.73 kB   index.html
   1.44 kB   about/index.html
   1.72 kB   blog/index.html
   10.2 kB   blog/sapper-graphcms-blog/index.html
   1.38 kB   service-worker-index.html
These are a list of all the generated routes. If everything was successful, you should see the "slug" from the post you created earlier in the output.
In this case, the entry is 10.2 kB blog/sapper-graphcms-blog/index.html.
We can verify the build by using serve. If you don't have it, install it globaly with:
> npm install -g serveThen you can "serve" (pun intended) the export output located at __sapper__/export by running:
> serve -d __sapper__/exportYou can also publish the exported build to Github Pages using the gh-pages CLI utility:
> npm install -g gh-pages
> gh-pages -d __sapper__/export
Finishing up
All in all I'd say this is a good path to take if you do not have data that is updating a lot as bundle sizes are small and things are FAST.
Any questions about how to implement static websites or if they are right for your company, feel free to reach out to me at: https://jacob-ebey.js.org/contact